Changing tires yourself made easy! With these step-by-step instructions, you can change the tire
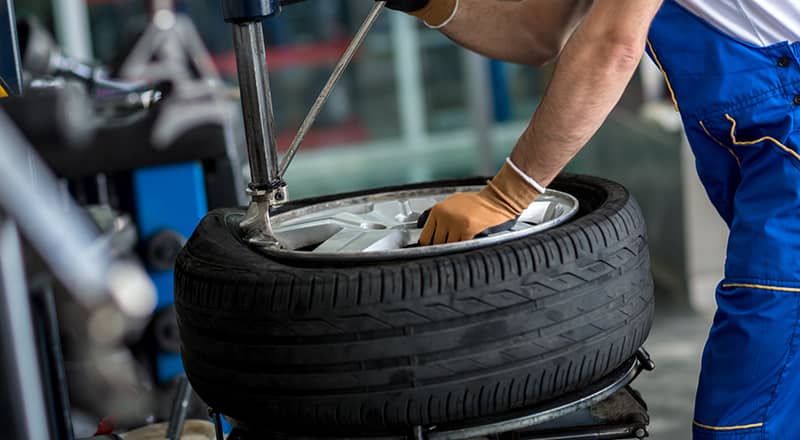
In the transitional periods between summer and winter, drivers cannot avoid changing tires. Many riders let professionals do the work, even though the switch isn't all that complicated. We explain in simple steps how the tire change works without any problems. The first important tip: Always look at the operating instructions for your vehicle first! There you will find helpful information on changing tires. Most vehicles are also equipped with emergency tires, a wheel spider and a matching jack.
Step 1: Preparation and Materials
Before you start changing tires, you should have all the necessary materials ready. To remove stubborn dirt behind the wheel, you should also prepare a coarse wire brush and cleaning materials.
These tools are used to change tires
- Summer/winter tires to mount
- jack
- Radkreuz
- screwdriver
- torque wrench
- Optional: wheel rim lock and chalk/crayon for labeling the tyres
Step 2: Remove tires
- First the Rims levered off the tire with a screwdriver. Be careful not to scratch the paint!
- The jack is placed on solid ground. Safety instructions for lifting can be found in the operating instructions on the jack itself. First, only raise the car slightly (a few centimetres).
- Loosen the wheel nuts easy with the wheel cross. You should continue to hold the wheel.
- Now you can raise the vehicle with the jack until the wheel is no longer in contact with the ground. To avoid accidents, you can also use a so-called jackstand slide under the body.
- Now loosen three wheel bolts crosswise with the torque wrench or with the wheel cross. The last screw should hold the wheel in the upper area.
- Press the wheel firmly on the rim so it doesn't fall off! Helping hands are recommended for this step. The last screw should only be loosened once the bike has been secured from falling.
- Now you can remove the wheel.
Step 3: Put on a new tire
- Prepare the right tire: Die The position and direction of the tires must be correct. An arrow on the inside of the tire shows the correct direction of travel.
- Before inserting, check whether the contact surfaces on the car are clean. You can remove coarse dirt with a wire brush. Only acid-free cleaning agents may be used here!
- Place the new wheel in the holes of the wheel connection. The wheel is properly seated if it can be turned without the brake discs turning.
Step 4: Attach the new tire
- First, the screws are only slightly tightened.
- Once the wheel is secured, you can lower the car again until it is almost on the ground (a few centimeters away).
- Now the screws are tightened crosswise with the torque wrench. To do this, set the correct tightening torque - the operating instructions for your vehicle state exactly which torque is required.
- The wheel bolts are tightened until a clicking sound is heard. Do not continue to turn after clicking to avoid damaging the thread!
- Finally, you can lower the vehicle with the jack until all four tires are firmly on the ground again. The jack is then no longer needed.
- Put the hubcap back on the wheel and press it on firmly.
- When changing summer/winter tires, you repeat the process with all tires.
What to do with the old tires?
You should mark the removed tires with chalk so that you can assign them correctly six months later. Use our Buxtehude tire change or Stade tire change to thoroughly clean the rims and suspension. If you notice scratches or breaks on the rims, you can tell us FelgenfixContact the team at any time and have the damage checked. We repair superficial damage quickly and thoroughly so that the rims look like new. After checking the rims, you should store your summer or winter tires in a cool, dry place. Moisture, oily surfaces or UV radiation should not affect the tires so that the material is not damaged.
Felgenfix is your tire change Buxtehude, tire change Stade and tire change Hamburg specialist from Fredenbeck.